Instructions
I N S T R U C T I O N S
for Sports cleats, click here
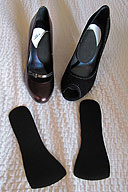
Position Instant Arches® flat, 1/2 against the sock lining of the shoe and 1/2 against the side wall of the shoe. Point the wide part of the Arch towards the toe area and the narrow end toward the heel. Lightly mark location if desired.
Remove 1/2 the paper backing to expose adhesive. Place Arch in proper location. Adjust Arch if necessary by moving it slowly forward, back or side-to-side until it feels comfortable and supportive under the arch of your foot. Pull tab.
Press Instant Arches® firmly in place. The Arch will not slip during normal wear. Repeat process for other shoe.
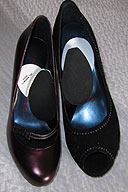
When wearing open sandals or heels, place Arches in the middle of your shoe where your arch would normally be located and adjust for support. Press firmly.
When your Instant Arches® become flat or unsupportive, replace with a new pair.
Peel the backing of the instant arches® 1/2 off to locate the correct placement in the shoe. The arches can be adjusted easily by moving the arch forward, backward or side to side for the most comfortable and supportive position. When the arches are in the correct and comfortable position, pull the tab. Place your foot in your shoes and the arches will then be securely in position.
FOR VERY HIGH ARCHES .... DOUBLE YOUR PLEASURE
Women with very high arches: Try placing one Instant Arch on top of another to give you the extra support you need.
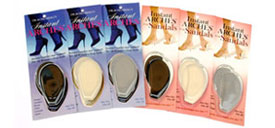
 Have a High Arch? Say Goodbye to Foot Discomfort w/ Instant Arches